Starting and customizing the software environment of a user server#
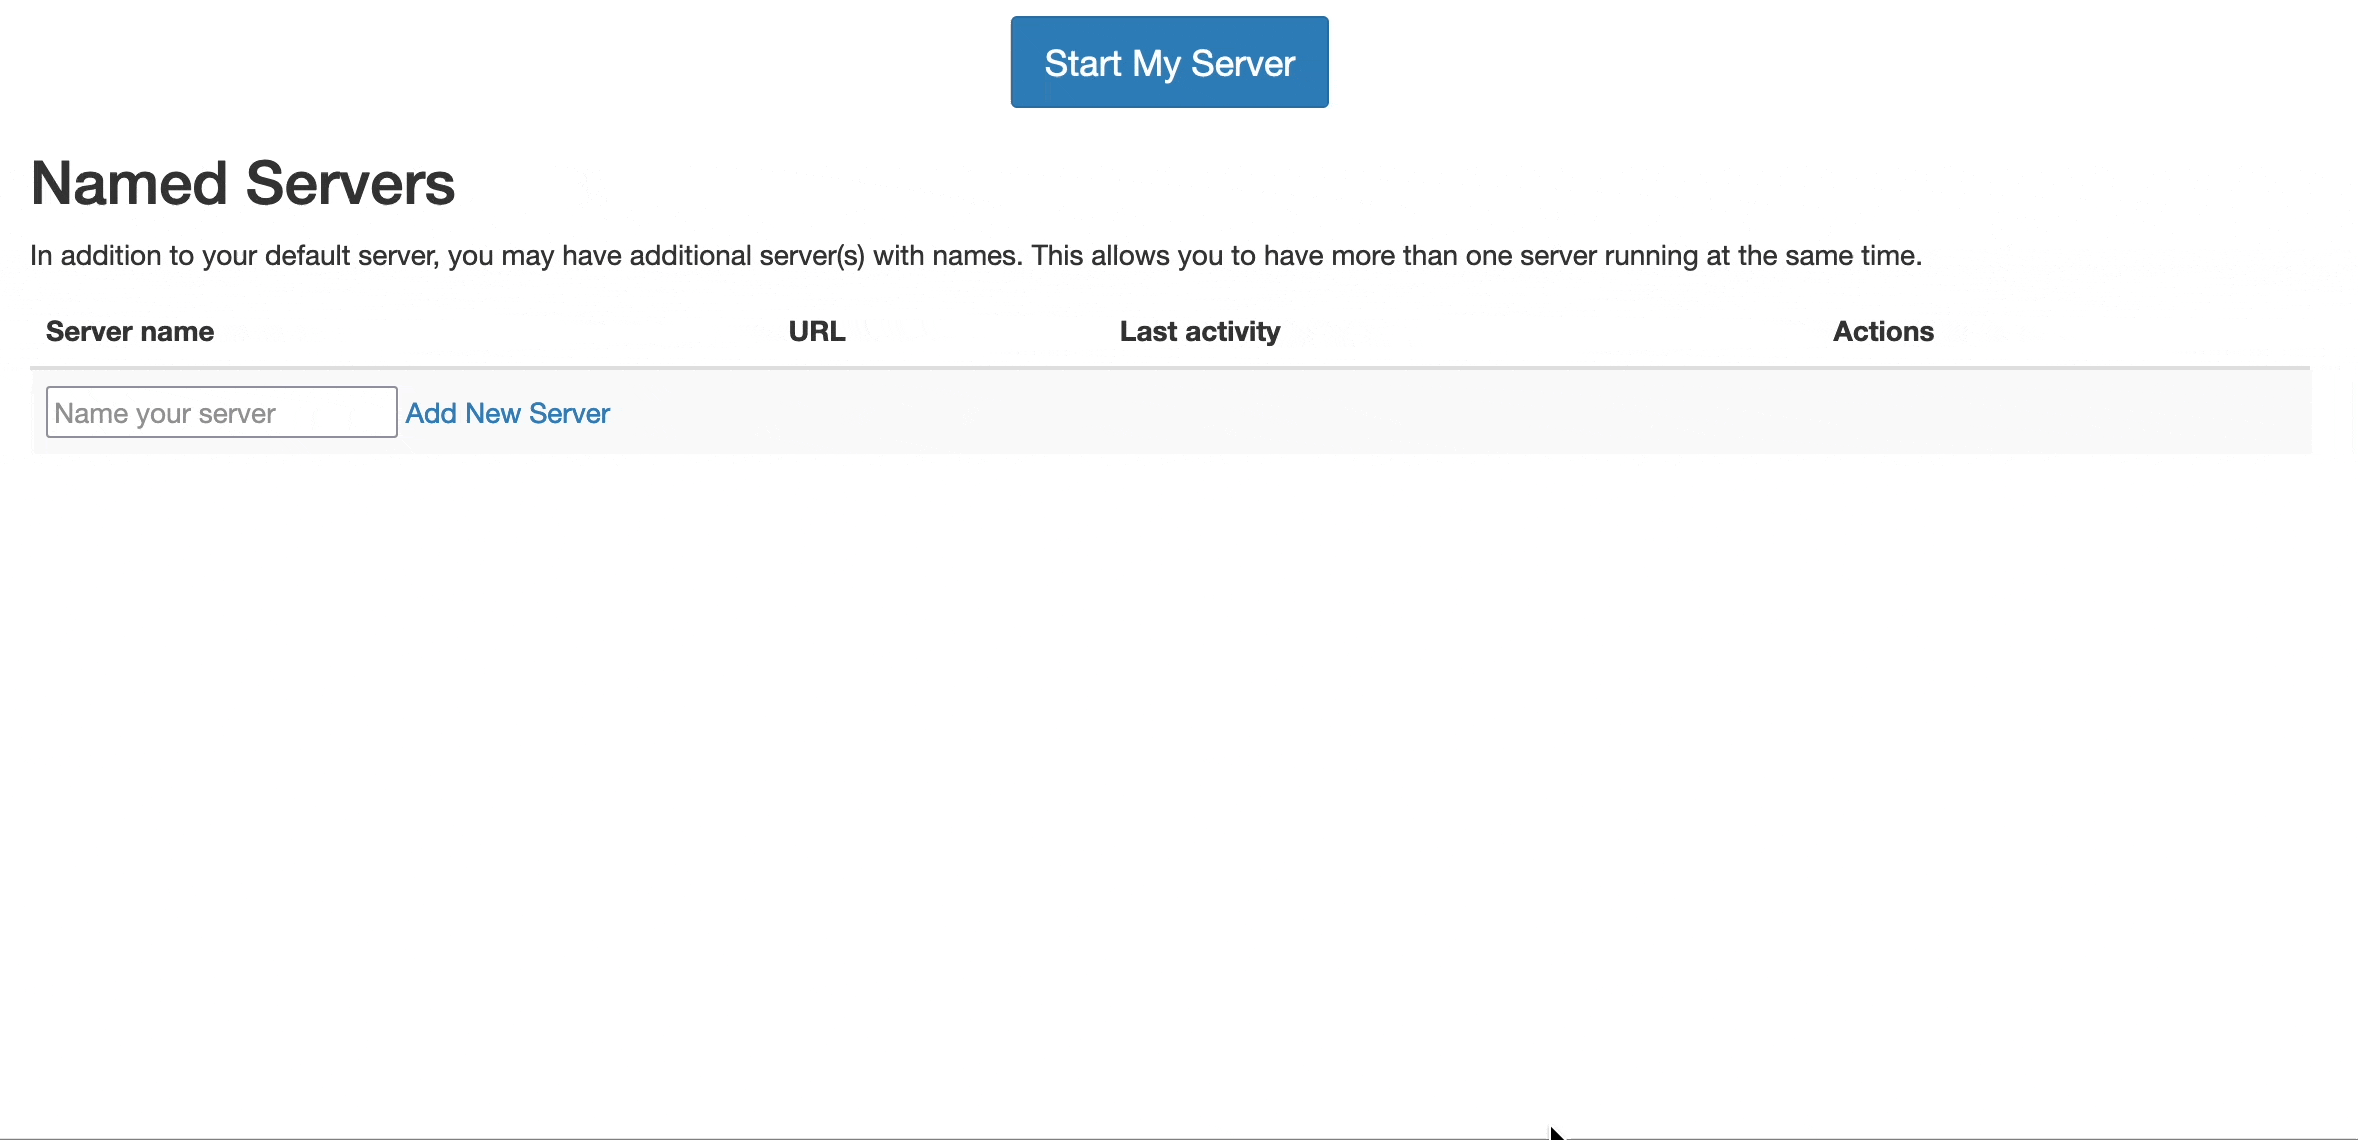
To start a server on the Hub, you need to go to the hub’s home page, then click on the Start My server button.
Depending on how your hub was set up, after clicking the button, you will be:
either redirected to “the spawn page”, where a bunch of logs and a progress bar will indicate that a server will be created. This server will use a software environment, i.e. a docker image, that was pre-configured by the hub admins.
or presented first with a list of “Server Options” that will allow you to configure this server before it will be spawned for you.
The first case is straightforward, so let’s dive into the one that needs you to choose your server options.
The Server Options#
The Server Options is a page that will allow you to configure the server that will be created and started for you.
Profiles and Options#
You can choose from different pre-configured “profiles” and for each profile you can choose from different pre-configured “options”.
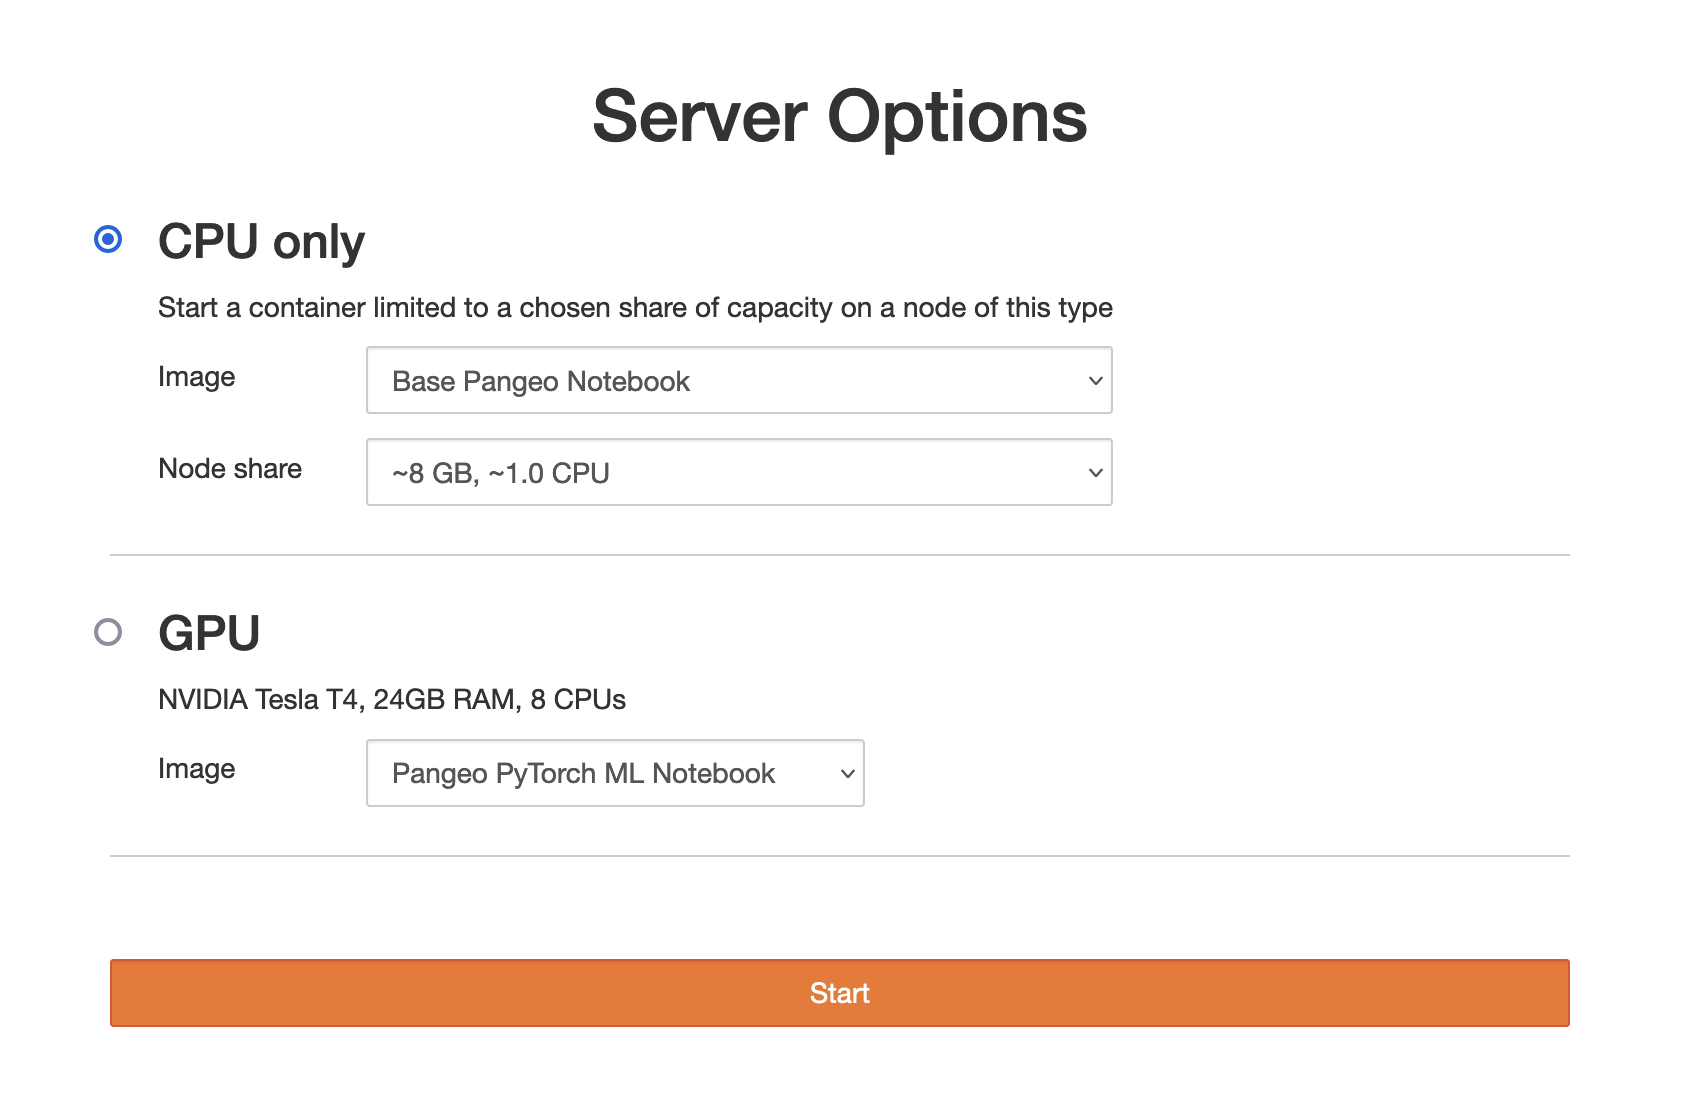
The image above represents a Server Options page example, where you can choose:
either a
"CPU only"or a"GPU"profileand for each profile, you can select from a list of pre-configured options. The options are:
the docker
Image, where you can choose from a list of pre-configured choices which image to use for the software environmentthe
Node sharewhich represents the hardware resources available on the server.
The “Other” choice#
If it was enabled, in the dropdown list of pre-configured choices of an option, there might be an entry called Other.
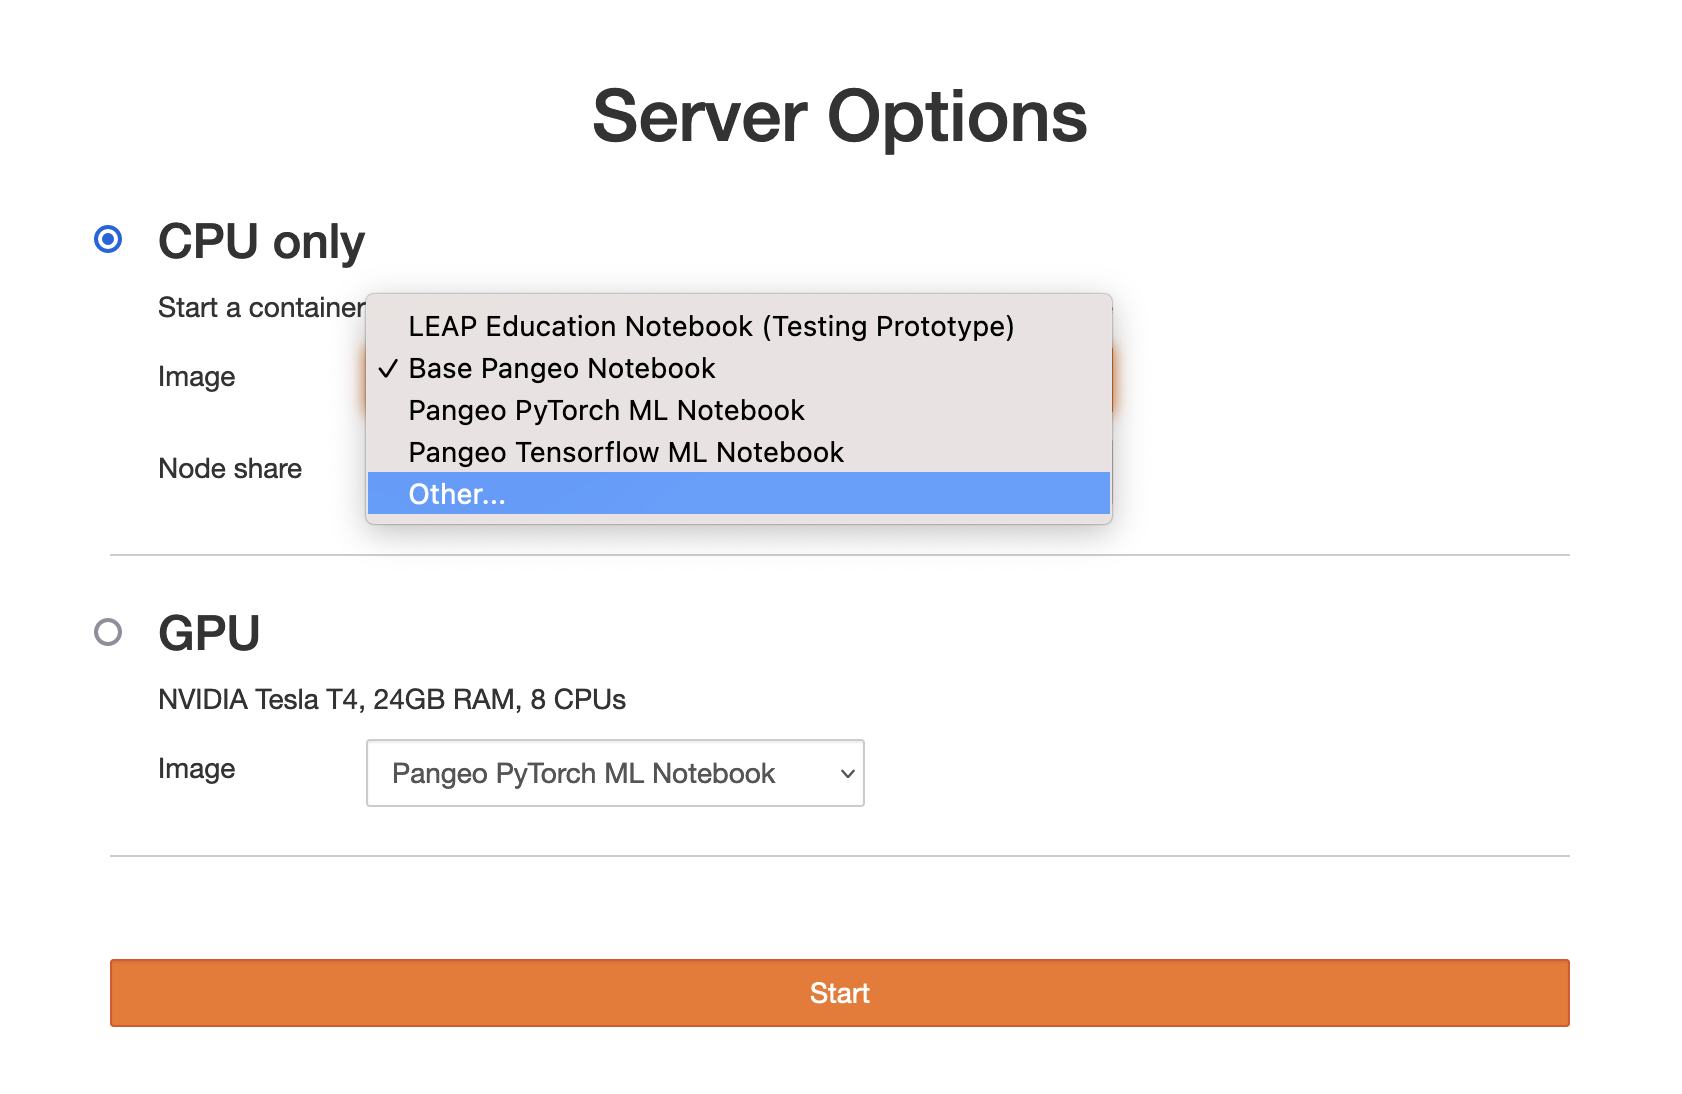
Selecting this choice, will allow you to input a free-form text value for that particular option, other than the pre-configured choices.
Specify your own custom image for the software environment#
Important
Some important takeaways from previous section, that are relevant for the software environment customization.
The software environment that runs on a user server is defined by a docker image. By using a docker image, your are enabled to reproduce your work on other machines more easily.
The docker image of a user server can be:
pre-defined by hub admins
a list of choices that you can select from
a special
Otherchoice that enables you to input your own custom option choice
The special Other choice of the Image option allows you to specify your own image for the software environment, in the form of docker_registry/organization/image_name:image_version.
As an example, we can get the 2023.09.11 version of the pangeo notebook (that’s not in the list of pre-configred choices) to run on a server with ~16GB of memory and ~2CPU (that’s not the default node share) by:
selecting the
CPU onlyprofileselecting the
Otherchoice of theImageoption (because 2023.09.11 version of the pangeo notebook is not available in the pre-configured list)pasting
quay.io/pangeo/pangeo-notebook:2023.09.11in the input field that appearedselecting the pre-configured choice of
~16GB, ~2CPUof theNode Shareoptionclicking the
Startbutton