User environment and interface#
When your users log in to their hub, they are presented with a configured environment with base libraries, user interfaces and languages installed. This allows them to start working immediately, without having to install packages themselves.
Customize your user environment#
While all hubs come with a default environment, it is possible to create a custom user environment for the hub. Here are a few ways that you can do this.
Create your own docker image#
Our hubs use docker images to enable a reproducible software environment for all users on the hub. You can build and bring your own docker image to the hub, which allows you full control over your software environment.
In order to do this, we need to define an environment in a repository, generate a Docker image from that environment, push the Docker image to an image registry, and tell your JupyterHub to pull from that registry. See the sections below for more detail.
A quick overview#
We recommend using the repo2docker tool to define and build your user environment following best practices for version control. This is the tool used by the Binder project and is a good standard to follow for defining clear and reproducible computational environments.
To use repo2docker to build user environments for your hub, you’ll need to:
Create a repository that hosts the files that will define your environment.
Add files in the repository that define your user environment. Here are a few good resources for defining these files:
The Binder Project has documentation about what files are supported.
The Turing Way has an excellent a collection of tutorials for getting started with Binder, and covers Python, Julia, and the R language.
Create a an image registry account. This will be the place where you store user images once they are built, so that the hub can access them.
Tip
We recommend using the quay.io image registry to host your images. This is a public registry service run by Red Hat and is reliable to use.
Set up a GitHub Action to automatically build a docker image using the repo2docker action, and push it to a registry.
Configure your hub to pull the user image from the registry, either via the configurator (available to hubs configured with a single image only) or by opening a support ticket to request that a 2i2c changes the hub configuration for you.
Tip
By following these steps, you have also created a Binder-ready repository. We recommend trying to build your reposity using the Other… server profile option (if available), or on mybinder.org in order to test the environment before updating your default hub configuration.
An in-depth guide#
To help you get started, we’ve created an in-depth how to Customize a community-maintained upstream image guide and a template repository to guide you through the process. You can go to the template repository by clicking the button below.
Temporarily install packages for a session#
You can temporarily install packages in your environment that will just last the duration of your user session. They will get wiped out when your user server is stopped, to ensure that you always start from the ‘default’ environment.
The recommended way is to put %pip install <list-of-packages> or
%conda install <list-of-packages> in the first cell of any notebook
you distribute, so when run it’ll install necessary packages. For R,
you can use install.packages("package-name") as you normally would.
Warning
While tempting, do not use !pip install --user <packages> to install
packages. This makes the base environment different for different users,
causing hard-to debug-issues. This could also render your user server
unable to start, due to conflicting packages. See this blog post on using pip in Jupyter for some helpful explanation.
Create multiple environments for users to select#
If your hub’s community has workflows that differ significantly, it can be useful to create multiple user environments for your hub. This uses Jupyter Hub User Profiles to create a menu of environment options when a user launches a new session.
To add multiple environments for your hub, take these steps:
Follow the steps in Create your own docker image for each environment you wish to offer your hub’s users. You should have one repository per environment, and each one should push to a Docker image registry via the repo2docker action.
Open a support request requesting that your hub be set up to serve multiple user environments. A 2i2c engineer will assist you in configuring the hub to set up multiple environments.
The default user environment#
The default environment for all community hubs is defined in this repository.
It is configured with the following:
Python packages: defined in this
requirements.txtfile. Many common scientific python packages are installed here.R packages: installed from this
install.Rfile.Data science interfaces: many popular data science user interfaces are installed:
An Ubuntu 20.04 base image, with common utility packages installed.
Default user interfaces#
The 2i2c hubs offer the following user interfaces by default:
Jupyter Notebook (Classic)#
The original single-document interface for creating Jupyter Notebooks.
JupyterLab#
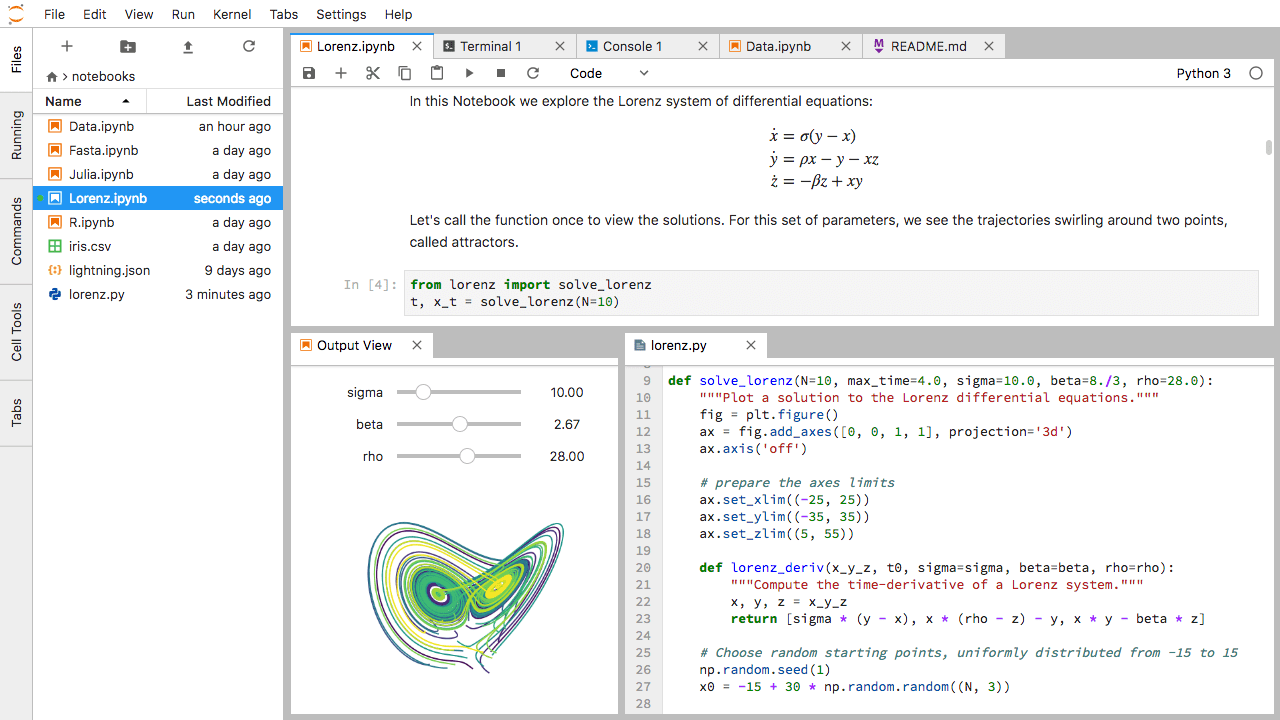
JupyterLab is a more modern version of the classic Jupyter notebook from the Jupyter project. It is more customizable and better supports advanced use cases - particularly around dask. Many research organizations use this.
RStudio#
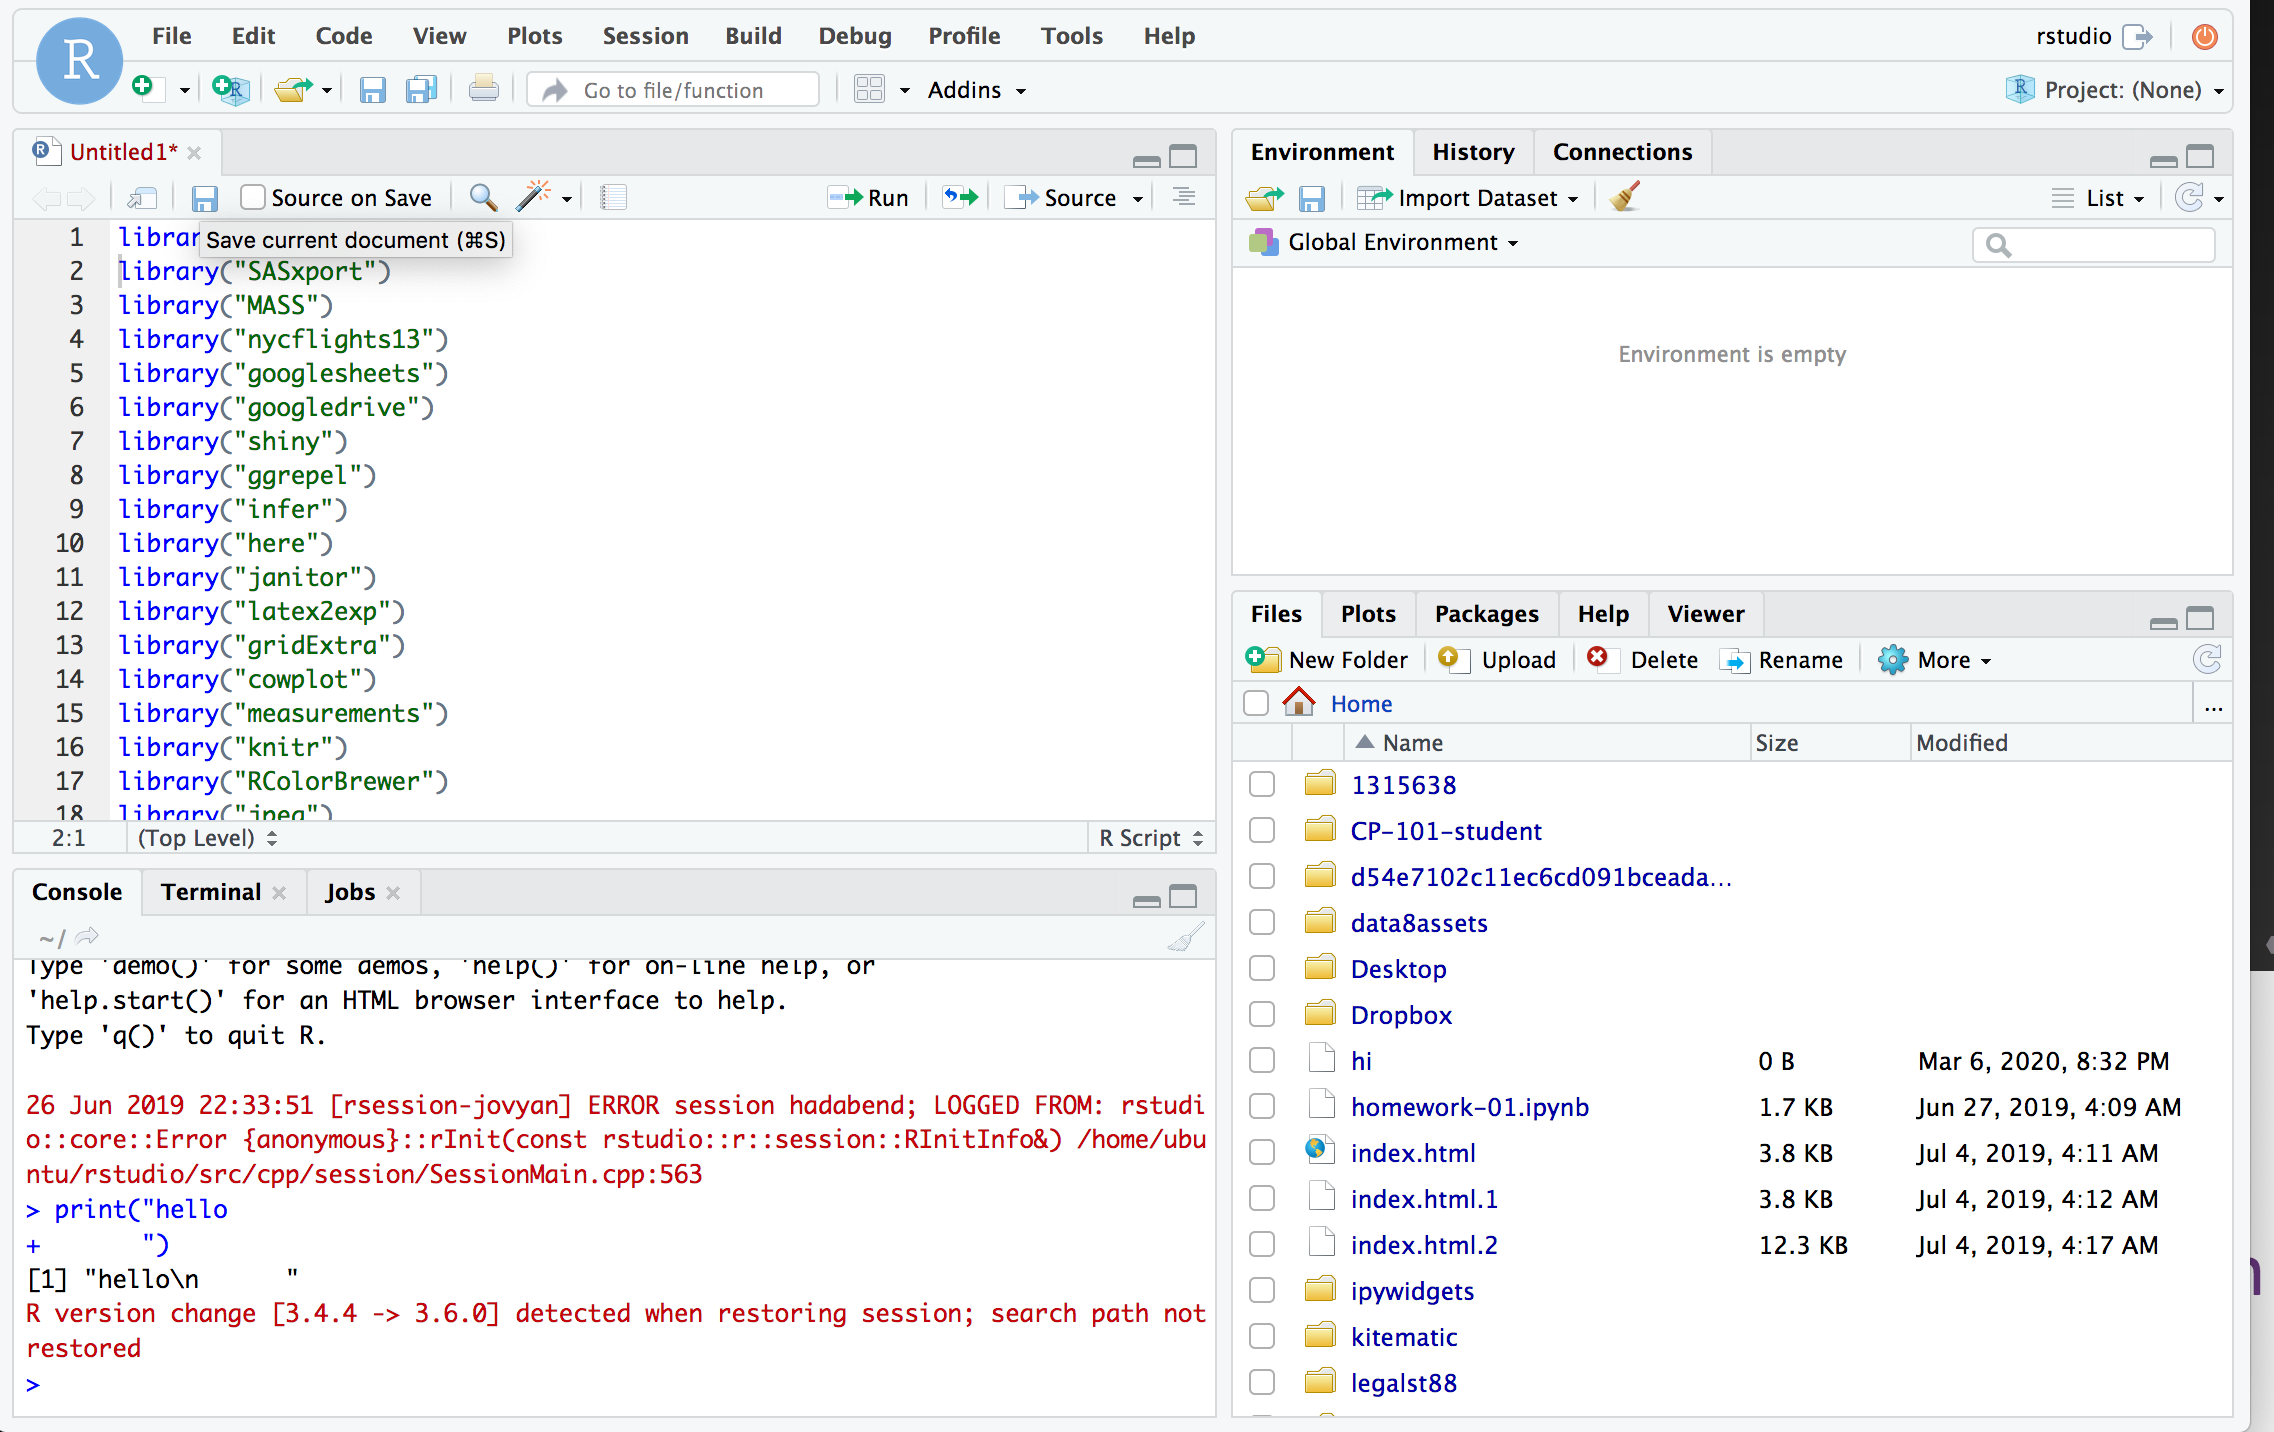
RStudio is an IDE for R, created by the RStudio company.
Ask for changes to the default environmen#
If you are using the default environment, and think that one or two packages should be installed by default on it, please send a support request and request an update to the default environment.
Accessing user interfaces#
There are three main interfaces available on the 2i2c JupyterHubs. There are a few different ways that you may encourage users to switch between them.
by changing your URL#
You may switch between user interfaces interactively by altering the URL of your session. For example, here is the general structure of a URL for your personal 2i2c JupyterHub session:
https://<your-hub>.pilot.2i2c.cloud/user/<your-username>/<your-interface>
You can replace the contents of <your-interface> to be one of the following:
JupyterLab:
/labJupyter Notebook:
/treeRStudio:
/rstudio
by changing the hub defaults#
A Hub Administrator can also configure the default interface that users see. To do so, see the configurator interface guide.
by using nbgitpuller links#
In addition, you can configure the interface that nbgitpuller links point to, see Distribute content with nbgitpuller for information about nbgitpuller links.